Media Control Volume Knob
October 2021 (492 Words, 3 Minutes)
Update 2024-09-05: I’ve published the Arduino holder and bottom plate to Printables, and published the code to GitHub.
I’ve always wanted to have a physical volume knob for my PC, mainly for those times you’re playing a full-screen game and you don’t want to alt-tab out of it. So when I saw this video by Prusa, I knew I had to build it. Even though this was a relatively small project, my inexperience in building stuff made me hesitant. It didn’t help that I did not yet have a 3D printer when I saw this video. So, I got my 3D printer, waited for the electronics to arrive from China and found the time and energy to start building.
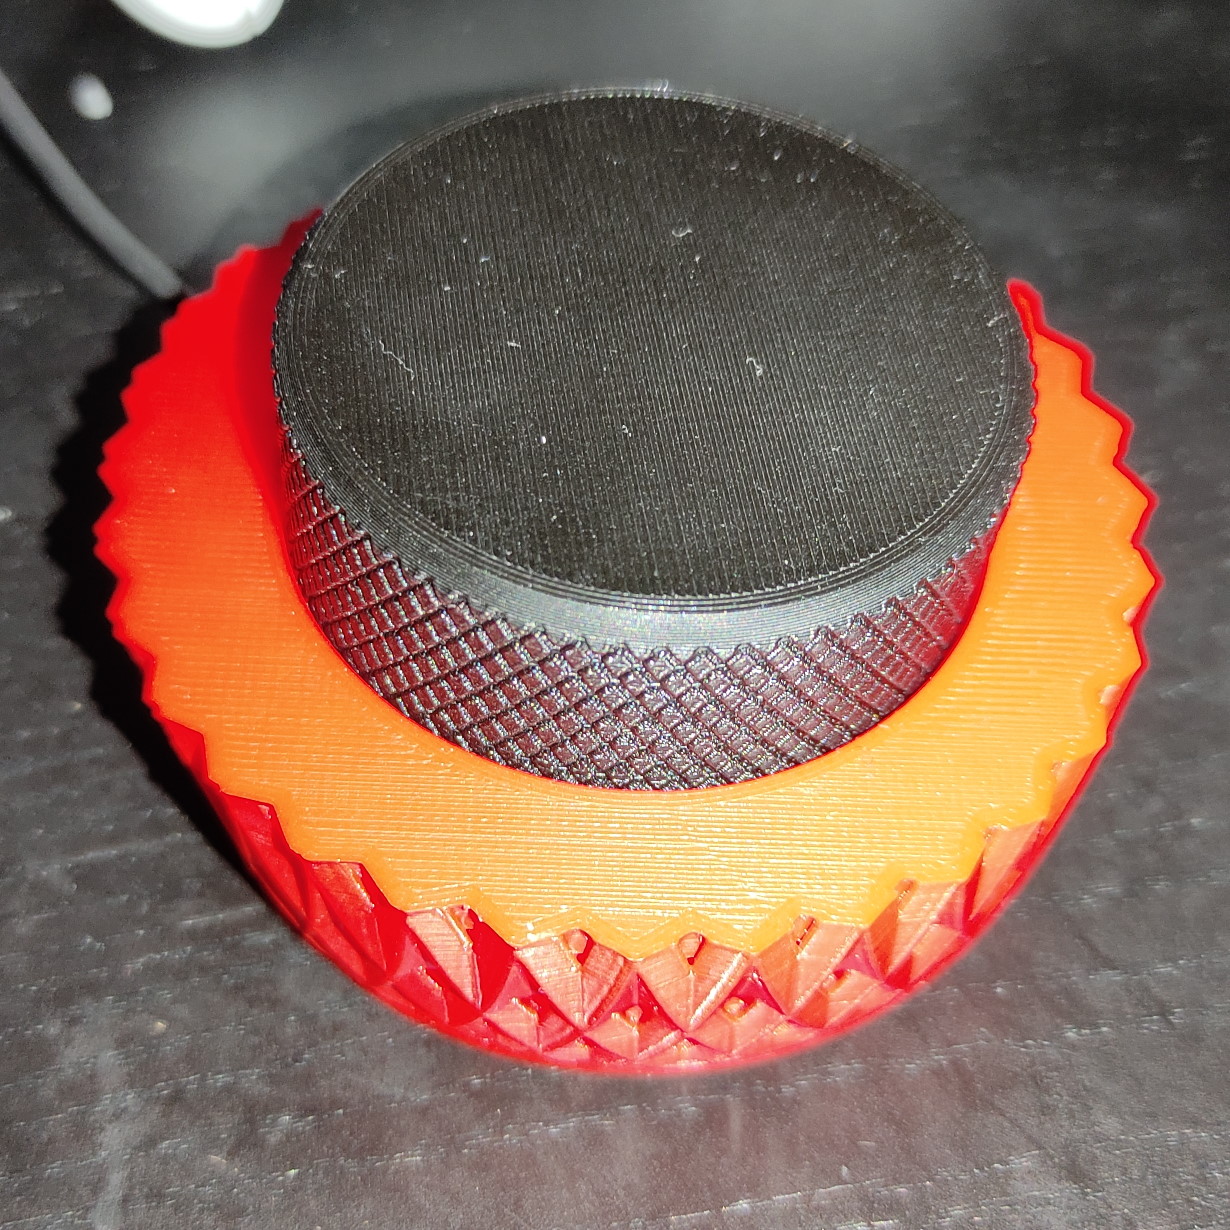
The printing part went relatively smoothly, no complaints there. The parts are well-designed for printing with no major overhangs or other tricky things. The stem of the knob did look a bit lower quality than the rest, but that was probably a fault in my print settings. I ended up printing the abstract body in red, the knurled knob without markings in black, a modified version of this reinforced bottom plate and some of my own custom parts.
Unfortinutely, the 3D printed parts leave something to be desired in the functionality department. Both my rotary encoders (the part that senses the rotation) had a little part sticking out that’s supposed to stop them from rotating in the case, but the body had nowhere for this to go so it pushed the entire thing crooked when inserted. I ended up designing and printing a spacer that fixed this issue, although now the knob sometimes scrapes against the body. The weirdest part is that I can also see the tab on their encoder, but apperantly it wasn’t an issue for them.
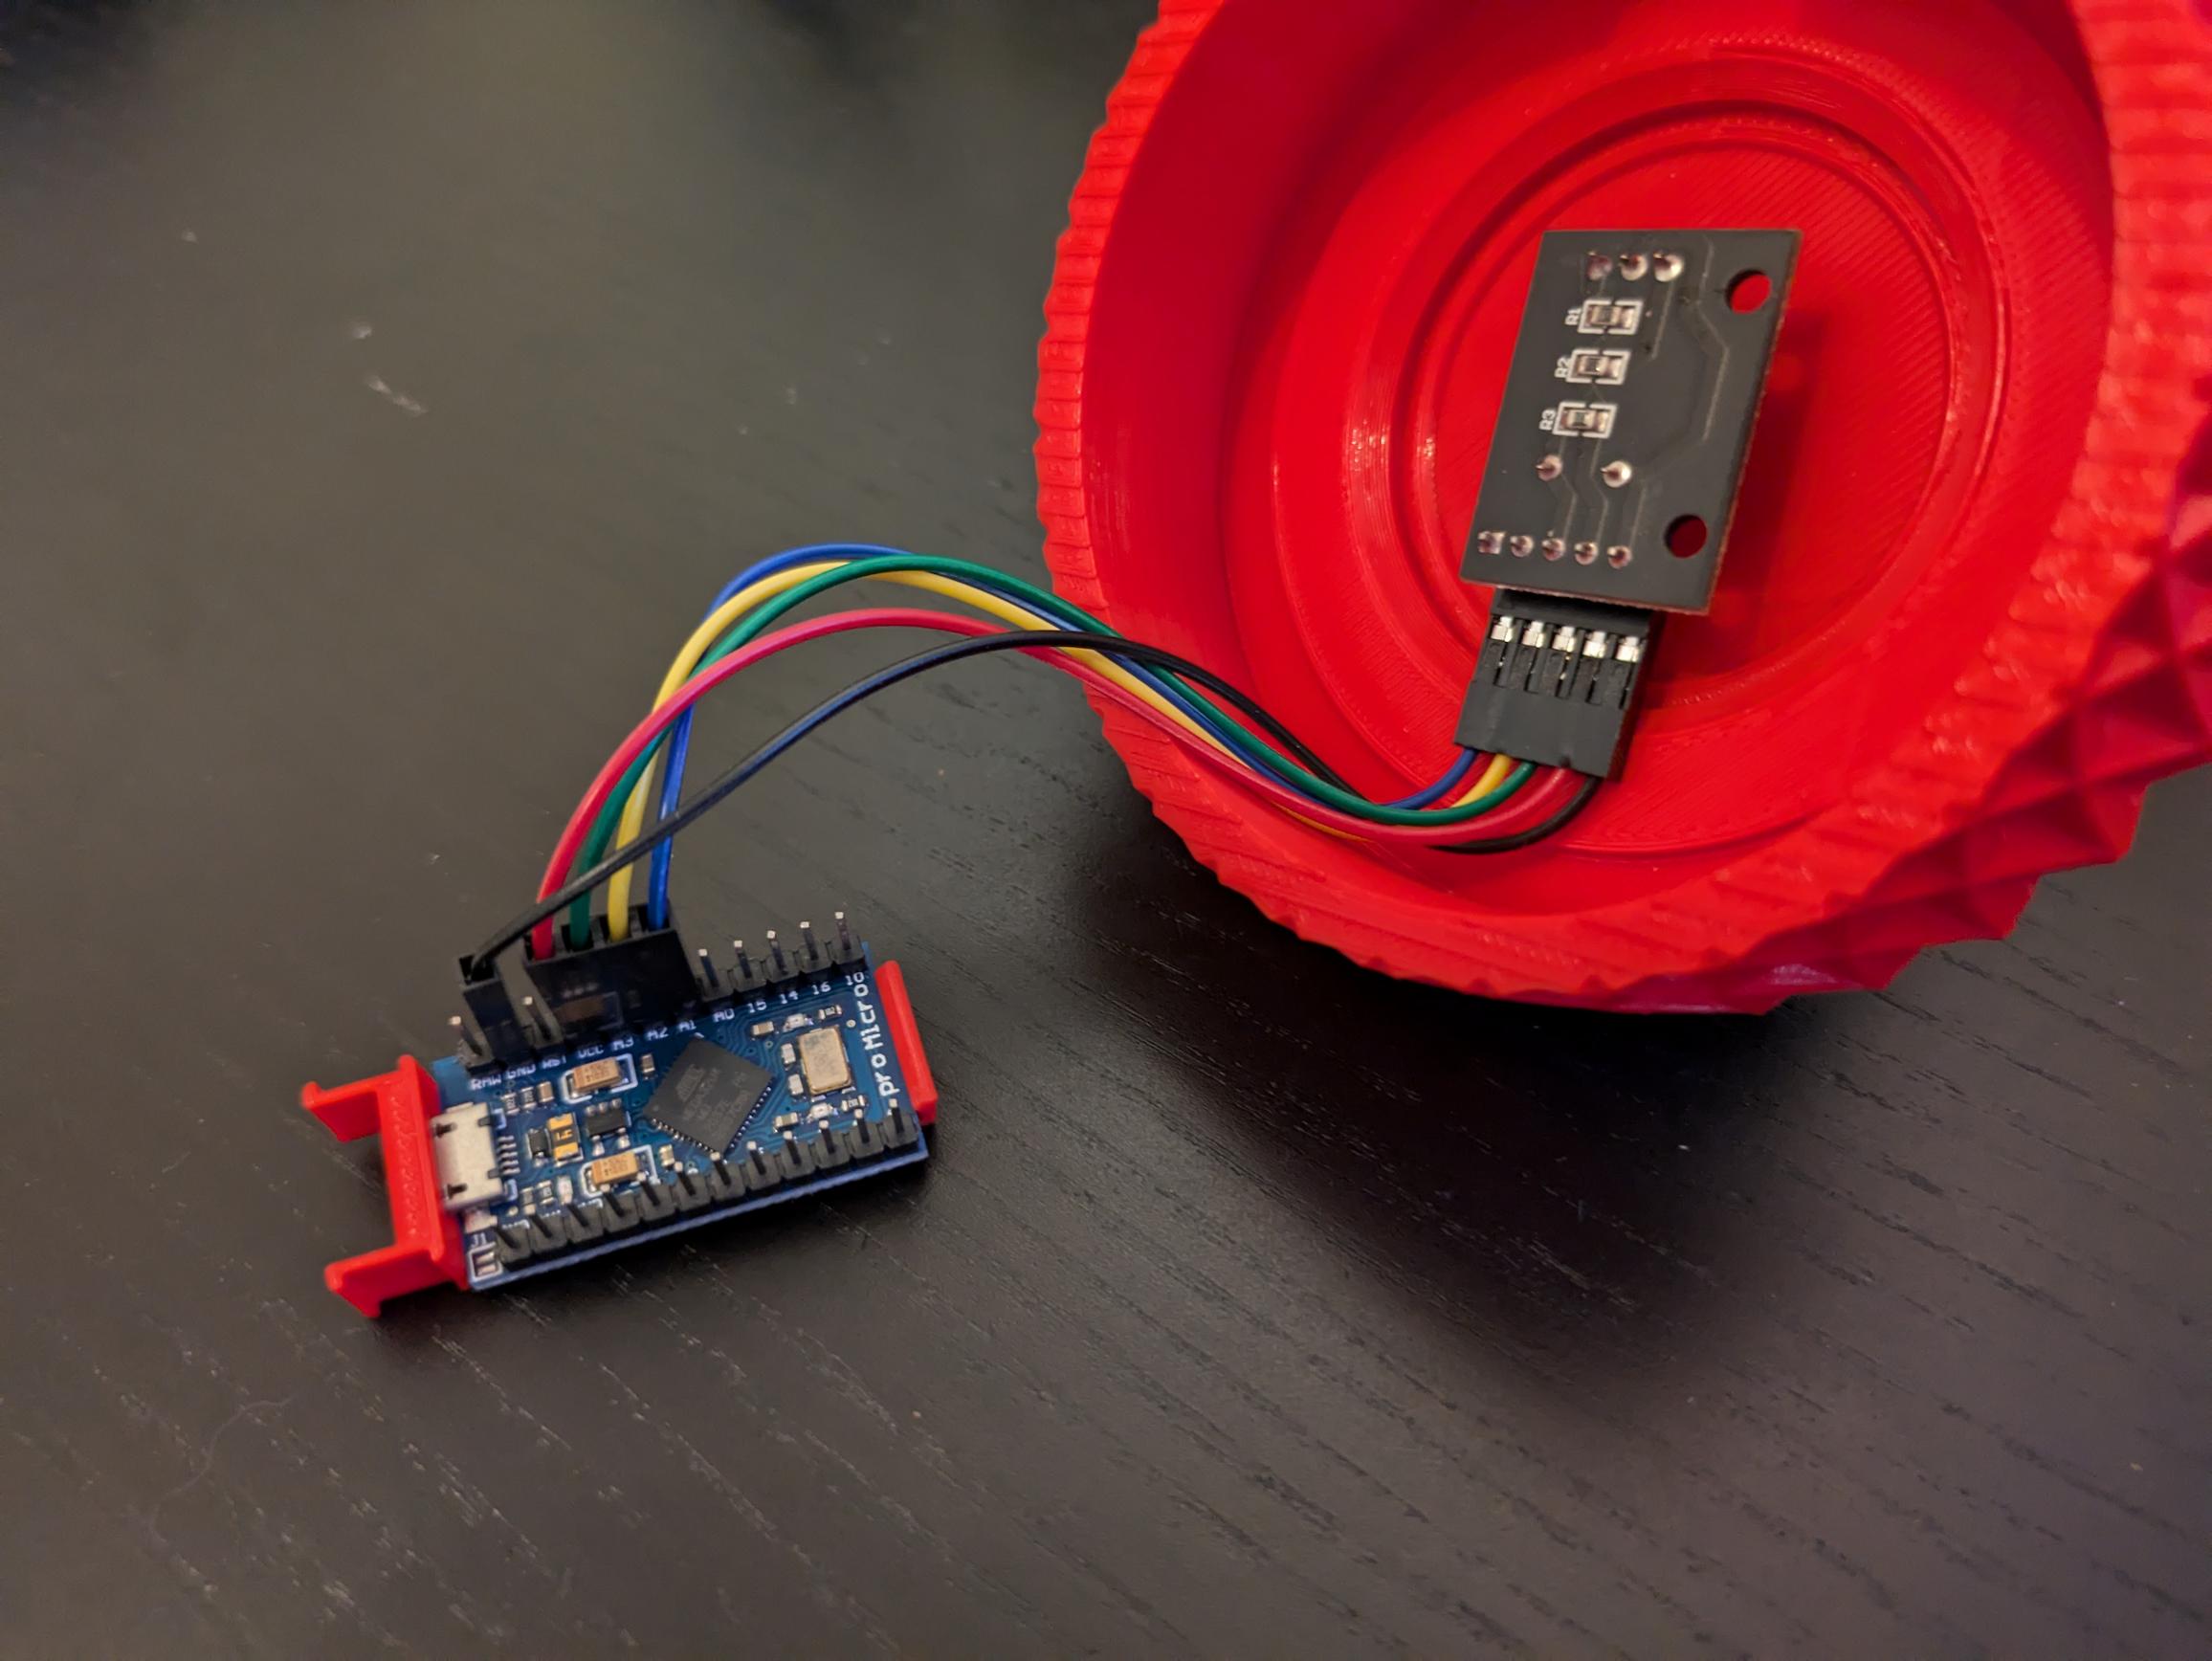
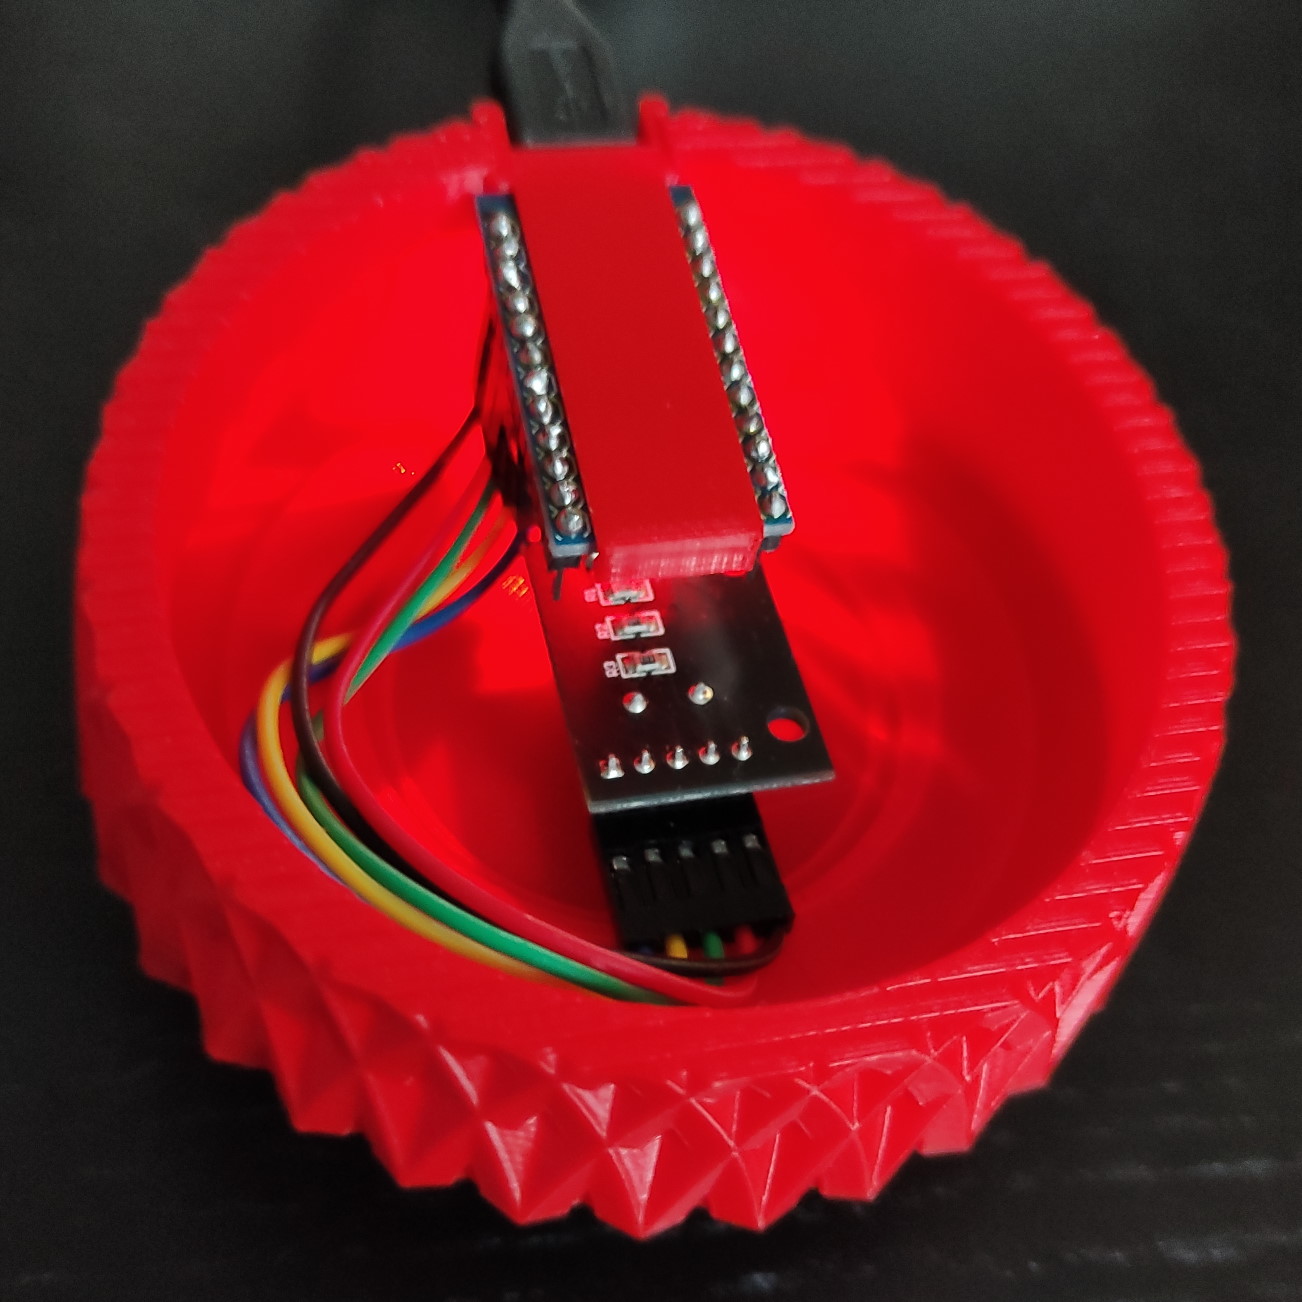
The video and article do not show how to put all the components inside of the button, although they do recommend using hot glue, glueing the arduino with usb cable and all to the insides of the body. Not content with this, I ended up designing a holder for the arduino that just slides into the cable slot (based on this), allowing you to easily take everything apart and exposing the arduino’s usb port on the back of the body. I also had to modify the bottom plate for the holder to fit. They also recommended soldering the wires in place, and without my custom made spacer this would be required as the connectors simply would not fit. Inkeeping with the rest of the modifications, I decided to keep the cables disconnectable so the whole device can easily be disassembled, using custom crimped DuPont cables. The spaces mentioned above also helped the long cable ends fit on the rotary encoder.
On the software side of things, I was not very impressed with the example code they provided. Of course it was just a simple example and they encouraged us to modify it, but I ended up rewriting the whole thing. My version includes support for acelleration, which makes it so rotating the knob a lot has an exponentional effect. Mine also supports different actions for rotation while pushing the button, which required me to work around the limited library they used. Lastly it allows you to set it to only send a command every few virtual clicks, as my encoder sends 4 pulses for every 1 physical click.
All with all, this was a fun project. I did not expect to have to modify so much, but it made it all the more enjoyable. Maybe I’ll make a v2 someday, featuring RGB??